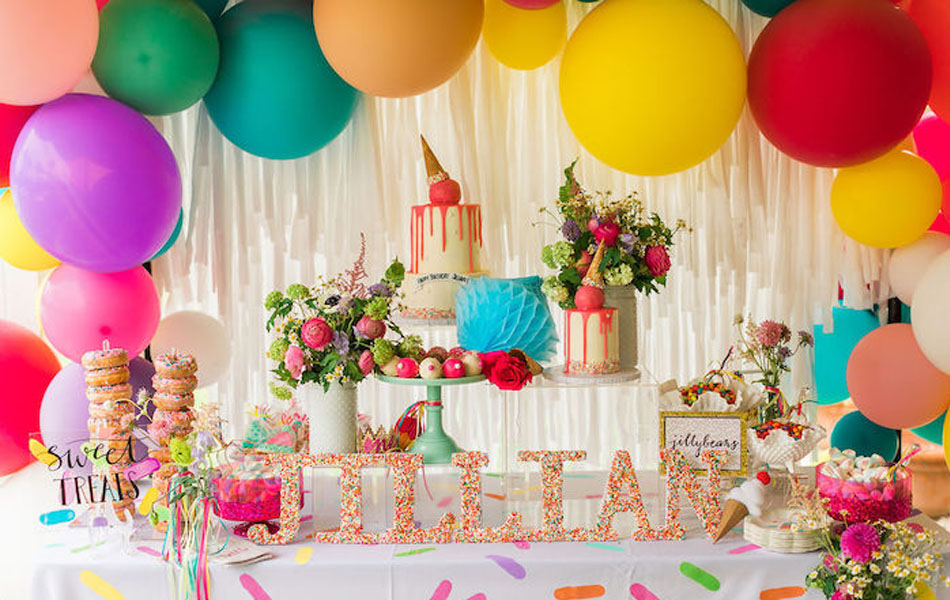
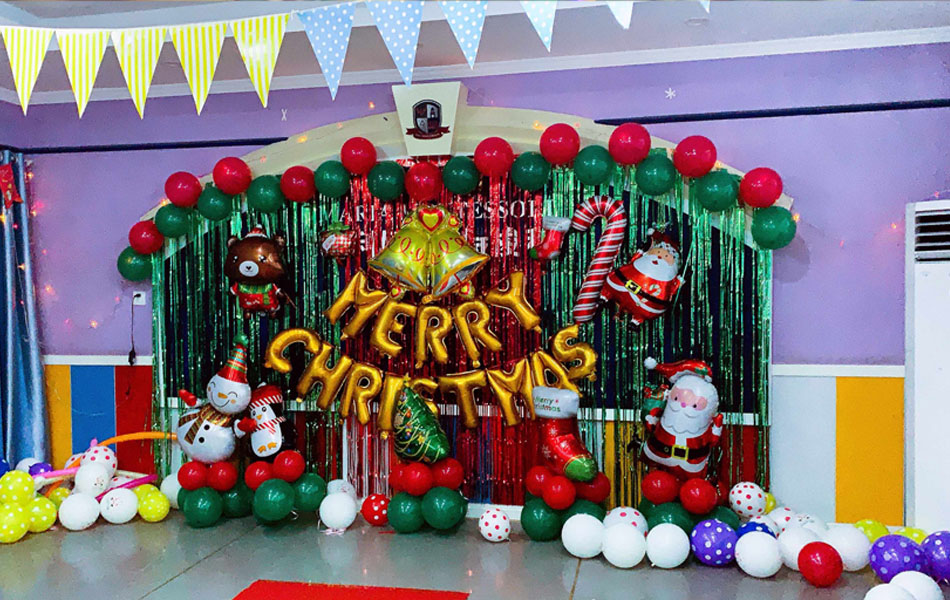
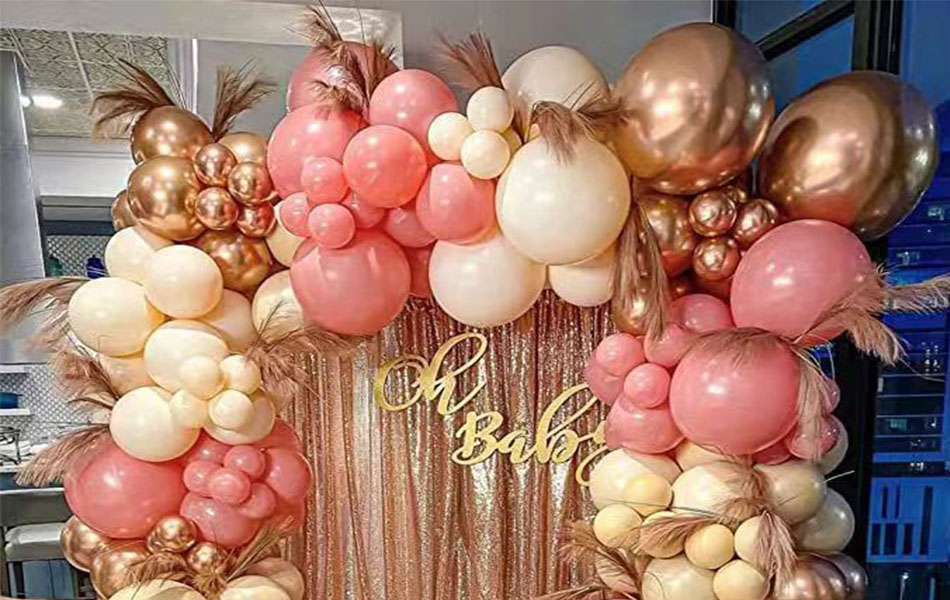
Here is a detailed assembly guide to help you easily make the balloon kit the highlight of the party.
I. Preparation
1. Check the contents of the kit
• First, make sure that the balloon kit you received is intact and all accessories (such as balloons, blowers, ties, glue dots, etc.) are complete.
• Understand the uses of different balloons and the order of assembly.
2. Prepare the work area
• Choose a spacious and well-ventilated area for assembly to avoid accidents when the balloons explode.
• Prepare a clean table or carpet to neatly place the balloons and accessories.
II. Inflation and knotting
1. Use a blower
• Conect the blower to the balloon's air hole according to the instructions to ensure a good seal.
• Blowgently to avoid excessive force that may cause the balloon to burst. For large balloons, it is recommended to use an electric blower to improve efficiency.
2. Accurate knotting
• When the balloon reaches the desired size, quickly pinch the mouth of the balloon and use your other hand to wrap the excess part around a few times before tying a knot. Note that the knot must be tied tightly to prevent leakage.
III. Assemble balloon shapes
1. Balloon chain/arch
• Put the blown balloons in pairs and fix them together with cable ties or glue dots to form a continuous balloon chain.
• Adjust the spacing between balloons as needed to create a neat or staggered visual effect.
• If you need to assemble an arch, you need to fix the brackets at both ends and wrap the balloon chain around it to form an arch structure.
2. Balloon column/tower
• Tie the bottoms of multiple balloons together with cable ties or glue dots to form a balloon base.
• Stack the balloons layer by layer, and slightly rotate the angle between each layer to increase the overall aesthetics.
• Finally, use long balloons or ribbons as decoration and wrap them around the outside of the balloon column.
IV. Decoration and Arrangement
1. Adding Detailed Decorations
• Use ribbons, beads, lanterns and other decorations to add color and layering to the balloon set.
• Stick numbers, letters or pattern stickers on the balloons to match the party theme.
2. Carefully Arrange the Venue
• Plan the placement of the balloon set according to the size and layout of the party venue.
• Use porches, walls, ceilings and other spaces to create a three-dimensional, multi-dimensional visual effect.
• Make sure the balloon set is stable and safe to avoid safety hazards during the party.
V. Finishing Work
• After assembly, carefully check whether each balloon is firm and has no air leakage.
• Store excess balloons and accessories properly for next use.
• Keep the work area clean and tidy to prepare for the next party decoration.
With the above steps, you can easily make our balloon set a bright highlight at the birthday party. We are committed to providing high-quality balloon sets and thoughtful services, and look forward to working with you to create more beautiful party moments!


